

The Epoxy Boss floor visualizer shows real Epoxy Boss flake, solid and metallic finishes on a photo of your own floor, or in one of our 3D rooms, in about a minute. It is free, needs no sign-up, and your photo stays on your device. This guide walks through each screen, shows real previews made with the tool, and shares tips for getting a result that looks like your finished floor.
What the visualizer does
- Finds the floor in your photo and keeps cars, shelves and furniture on top of the new finish.
- Shows real colors from our flake, solid and metallic ranges, not generic textures.
- Lets you compare two colors, switch between before and after, and save or share the result.
Step by step: the floor visualizer
Step 1: Open the visualizer
Go to the floor visualizer on your phone, tablet or computer. Choose Open camera to take a photo right in the browser, Upload or take a photo to use one you already have, or start with one of our rendered 3D rooms.
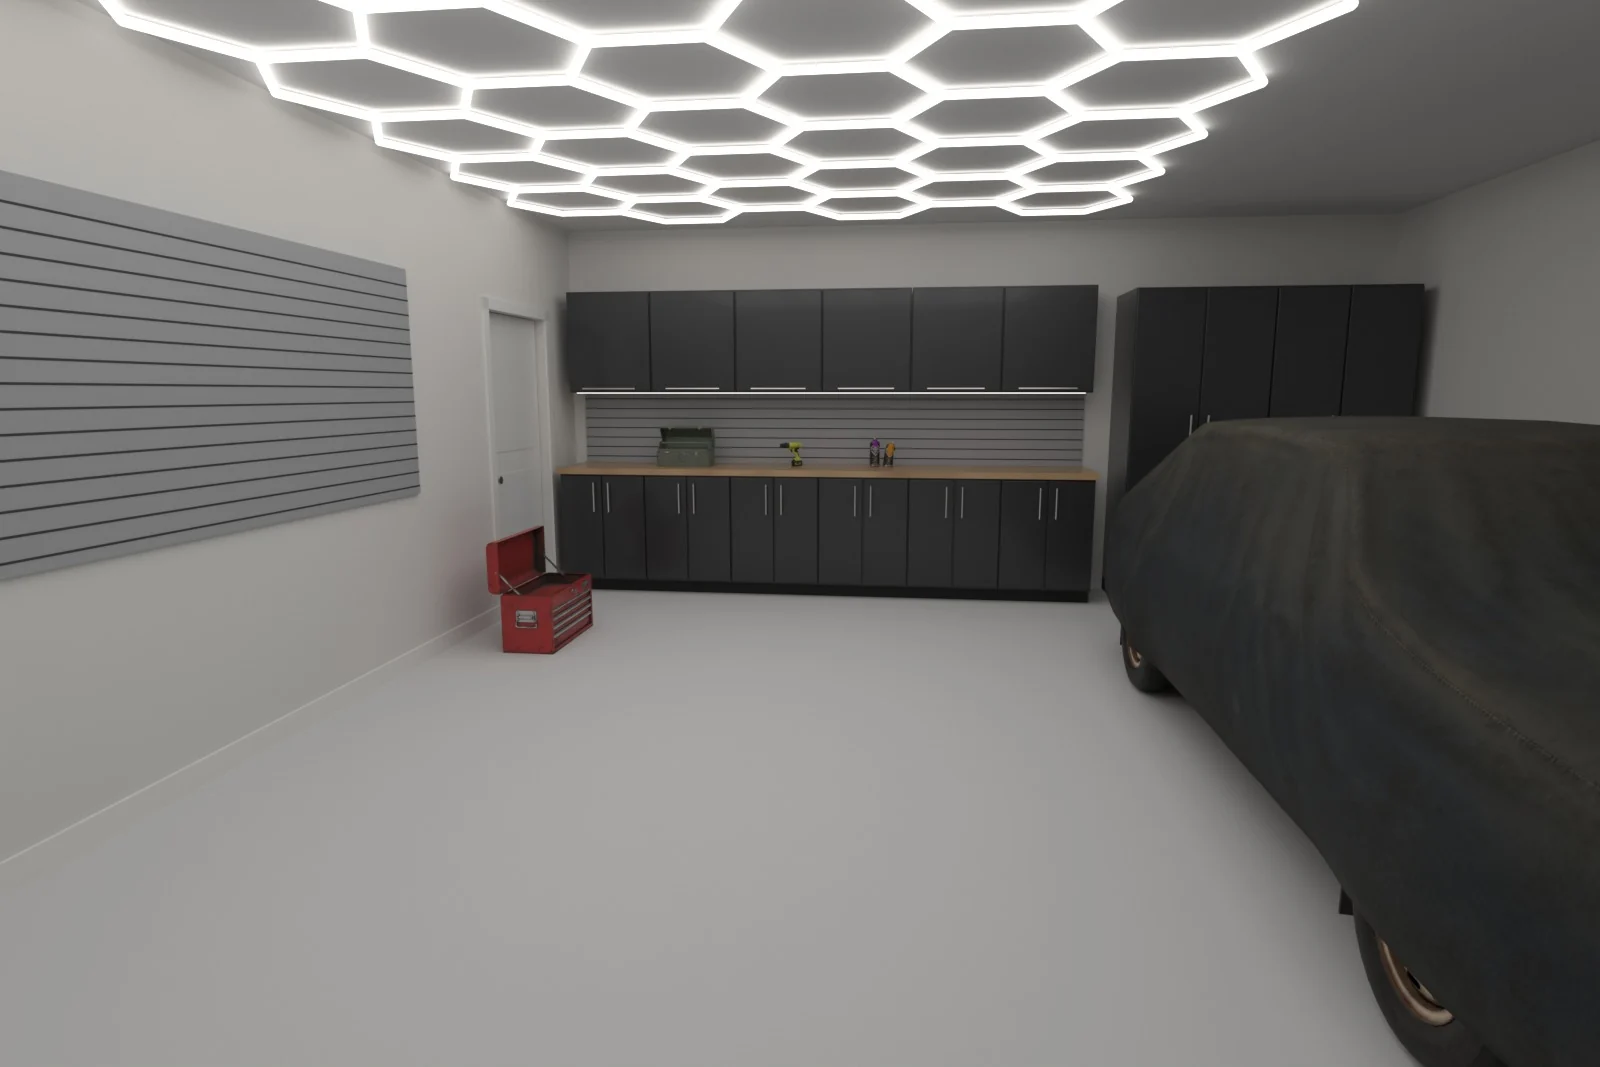 Premium garage
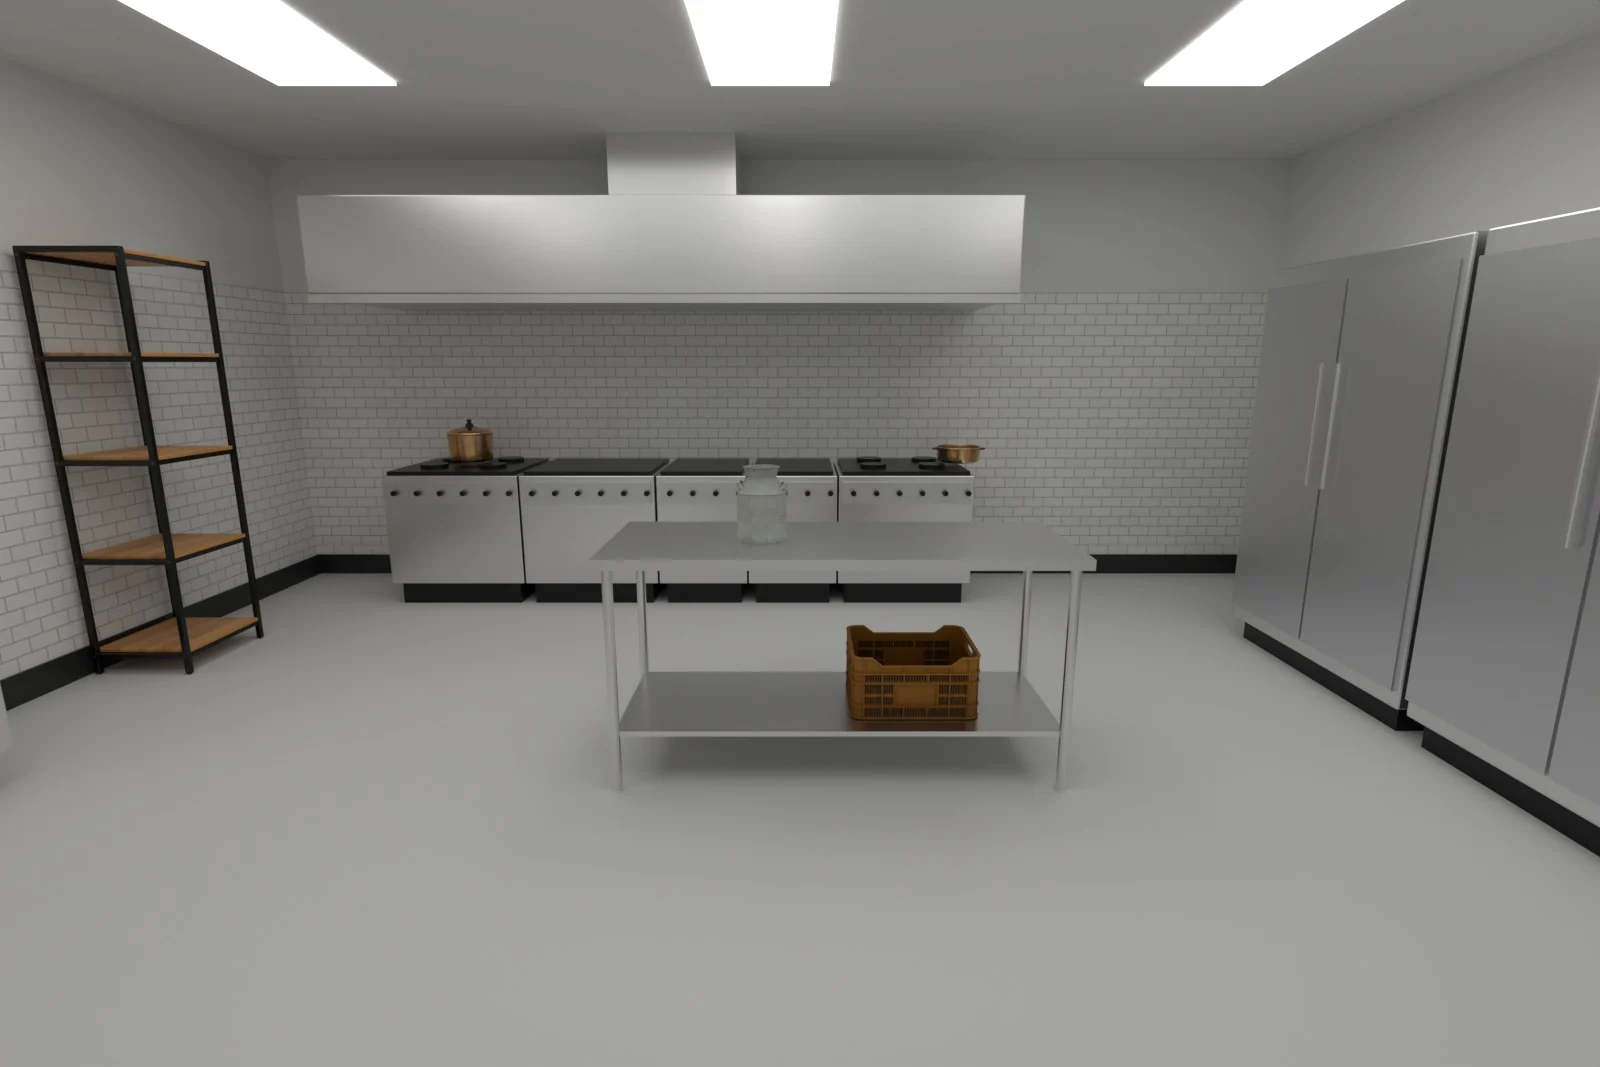 Commercial kitchen
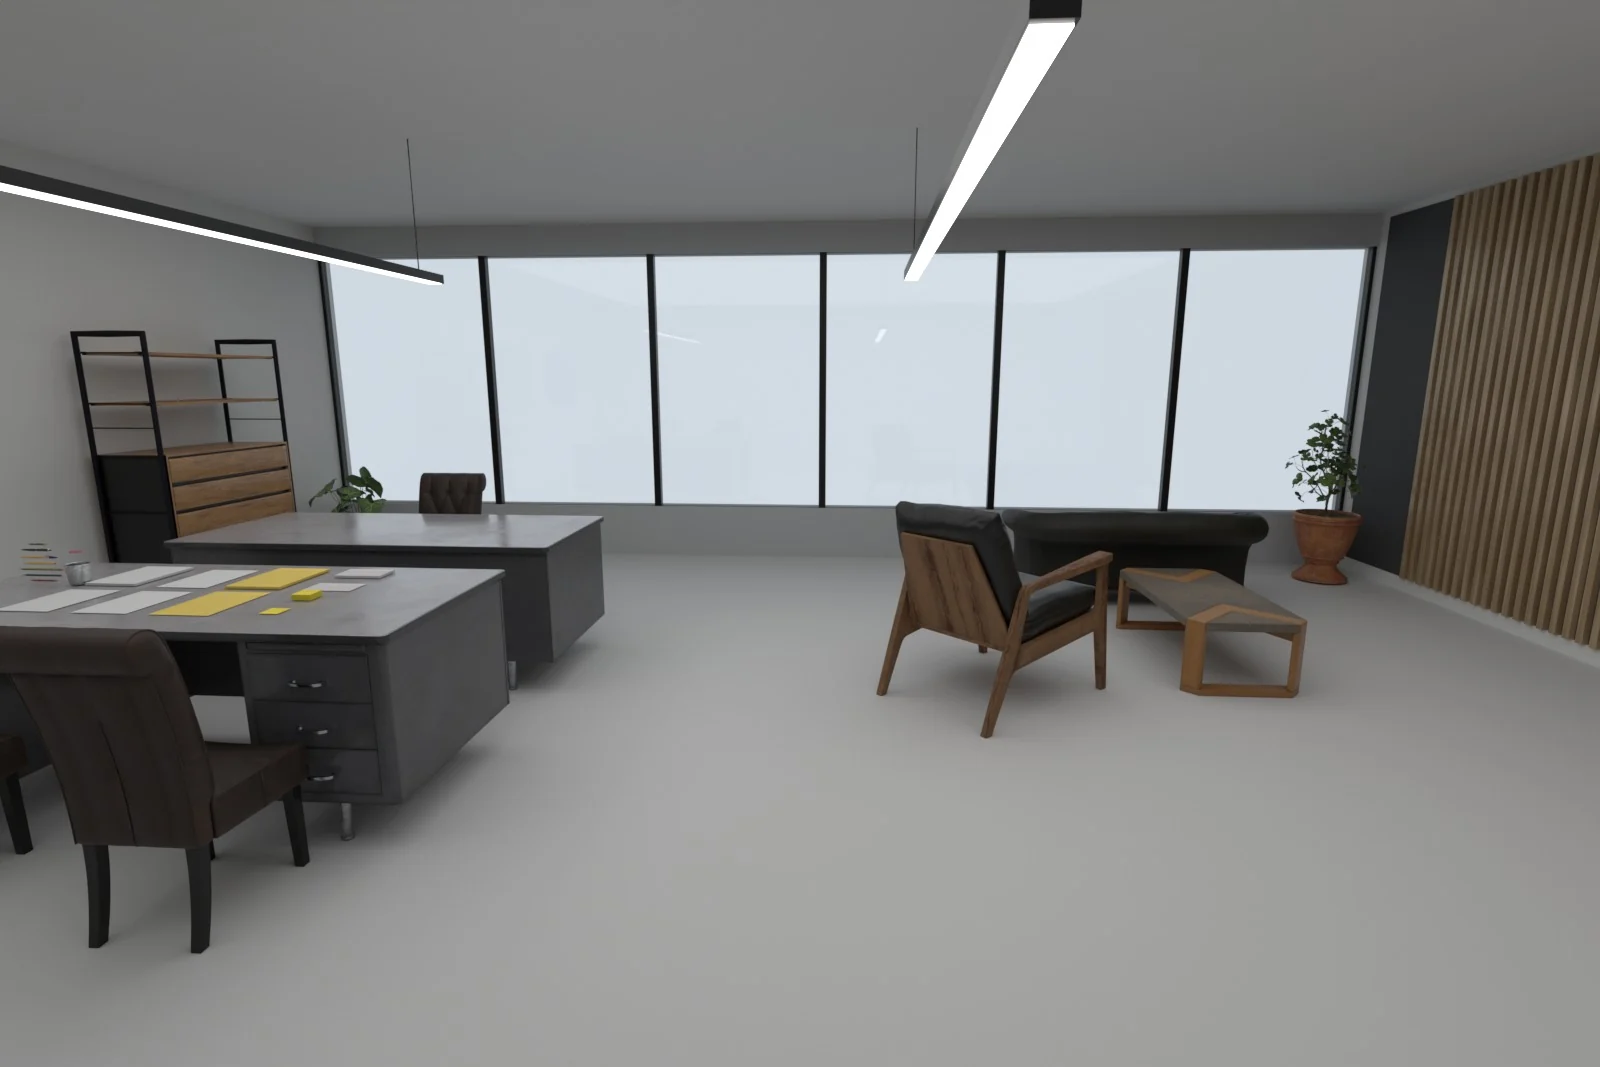 Office
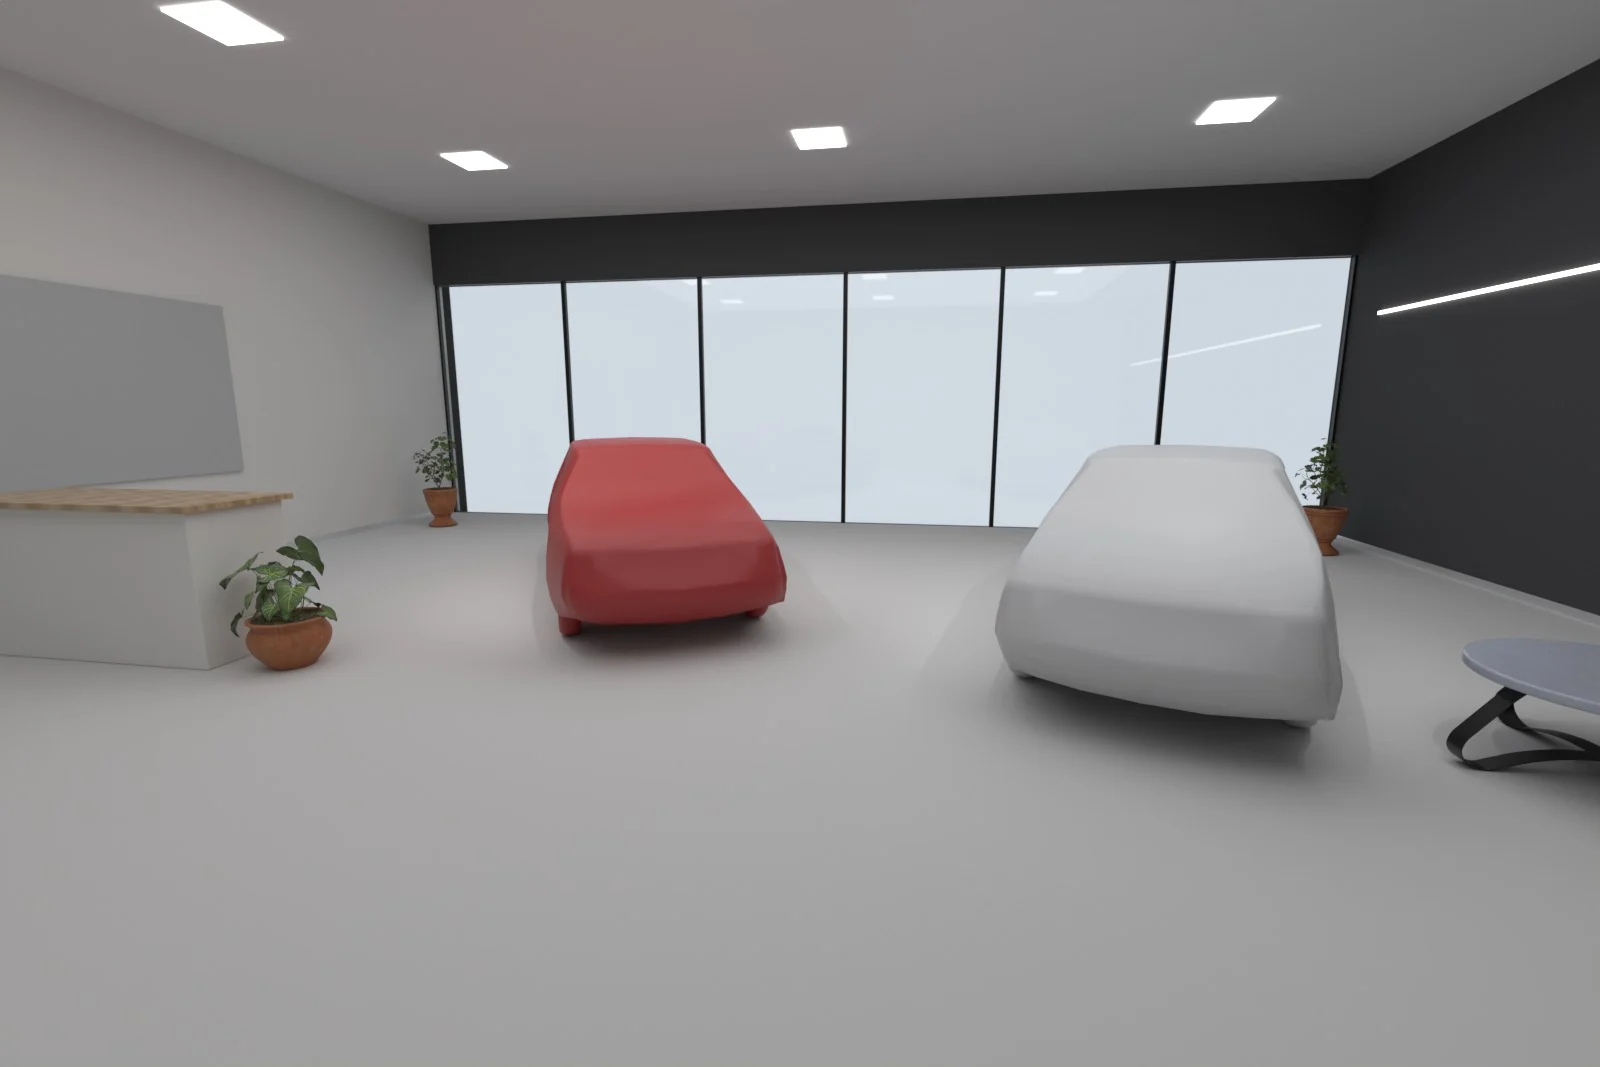 Showroom
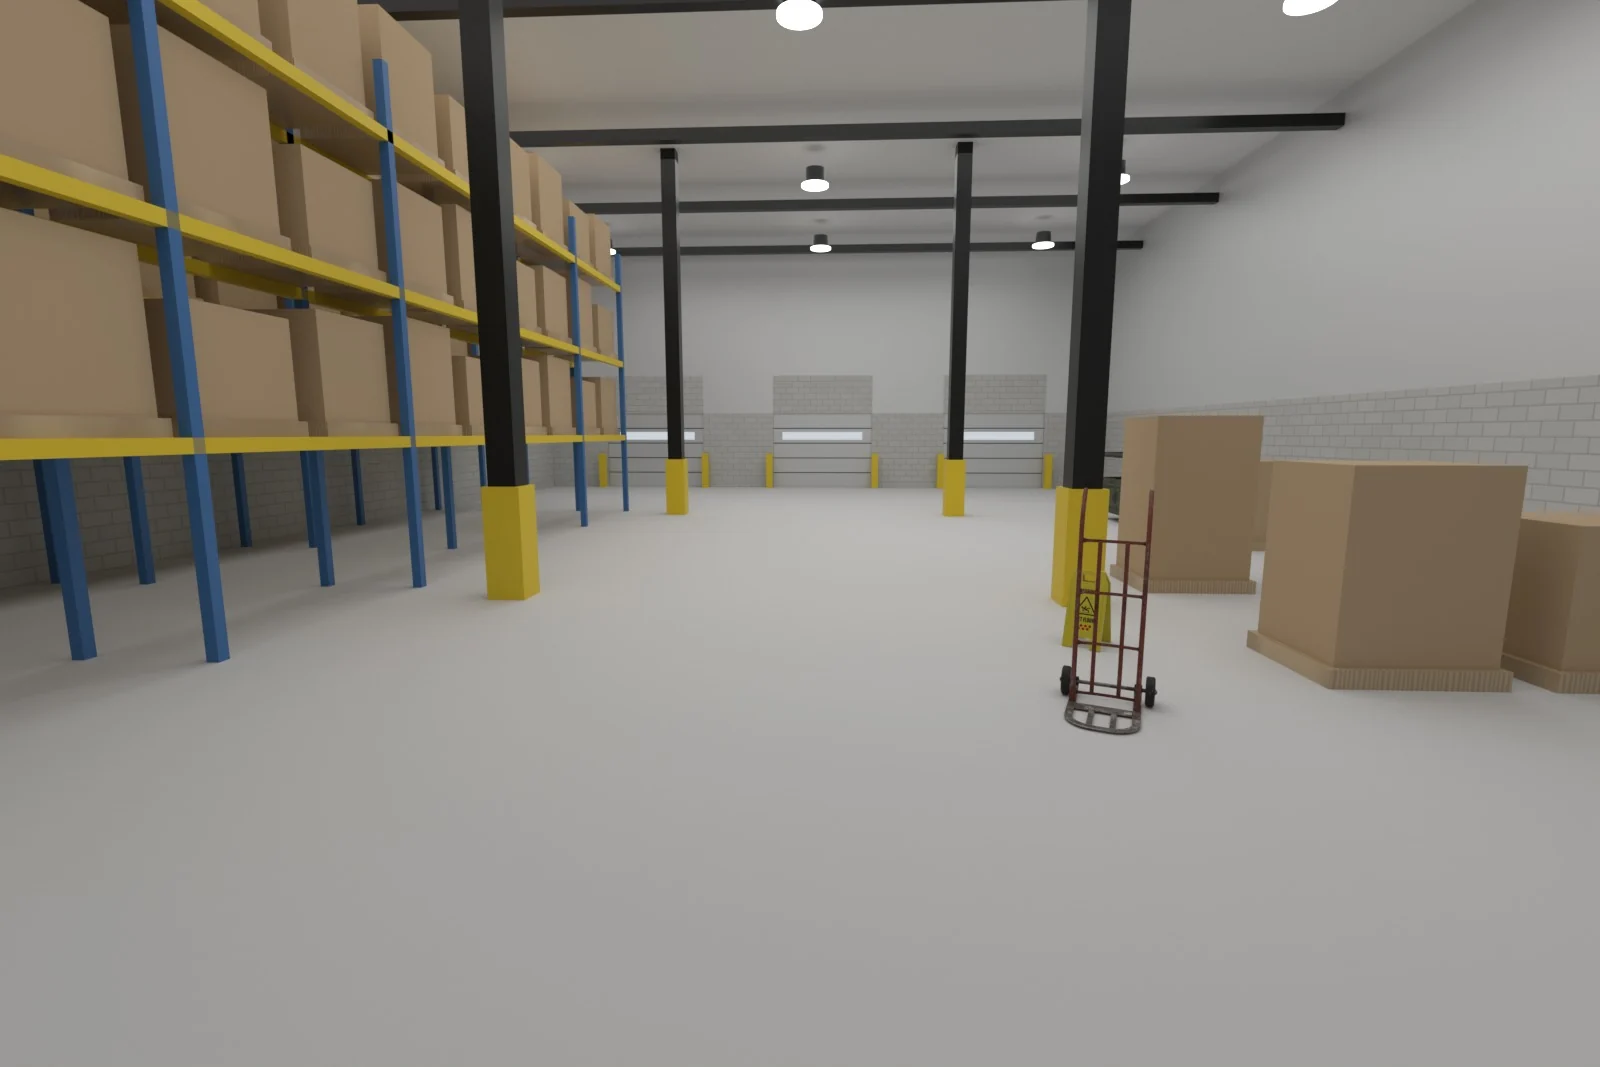 Warehouse
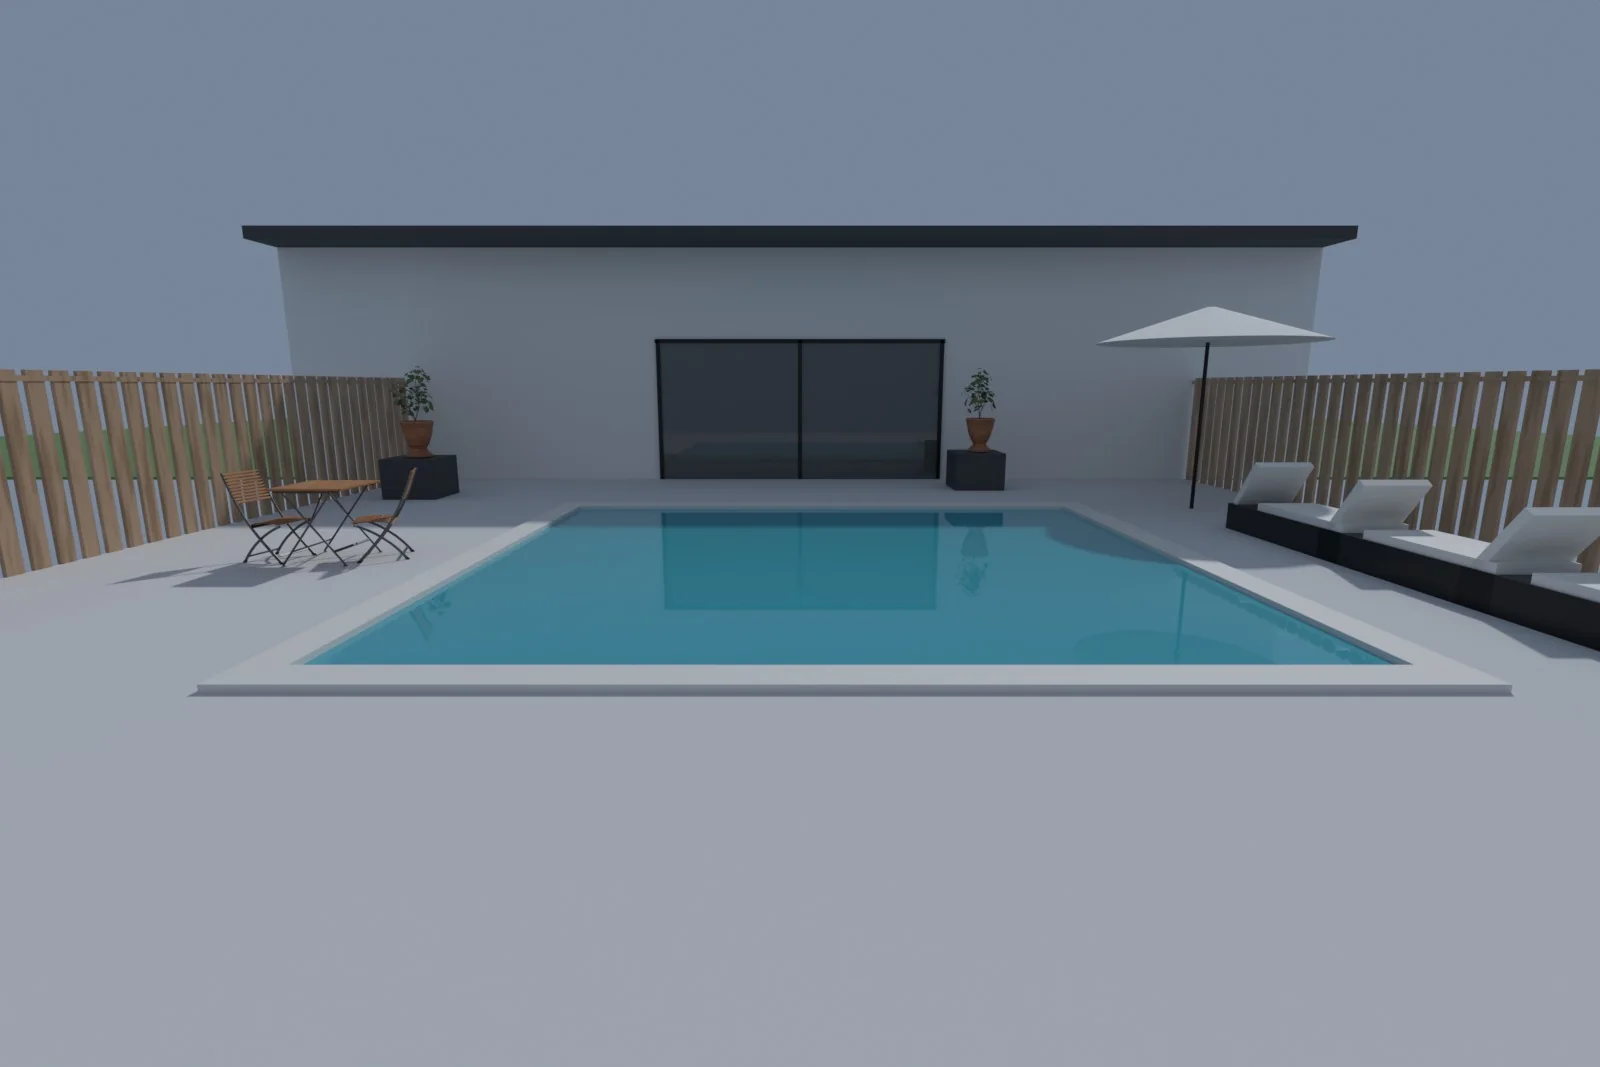 Pool deck
Step 2: Take a good photo
The visualizer finds the floor automatically, so a clear photo gives a cleaner preview. Stand in a corner or doorway, hold the phone at chest height and tilt it slightly down so most of the frame is floor.
Step 3: Choose a system and color
Switch between Flake, Solid and Metallic at the top of the color panel. Filter by tone (light, grey, beige, brown or dark), search by name, and tap the heart to save favorites.
Step 4: See it on your floor
The color is laid on the floor in seconds. For flake, try the chip size buttons (1/4″, 1/8″ and 1/16″): larger chips look bolder, smaller chips read finer from a distance. Use the plus and minus buttons to zoom in on the pattern.
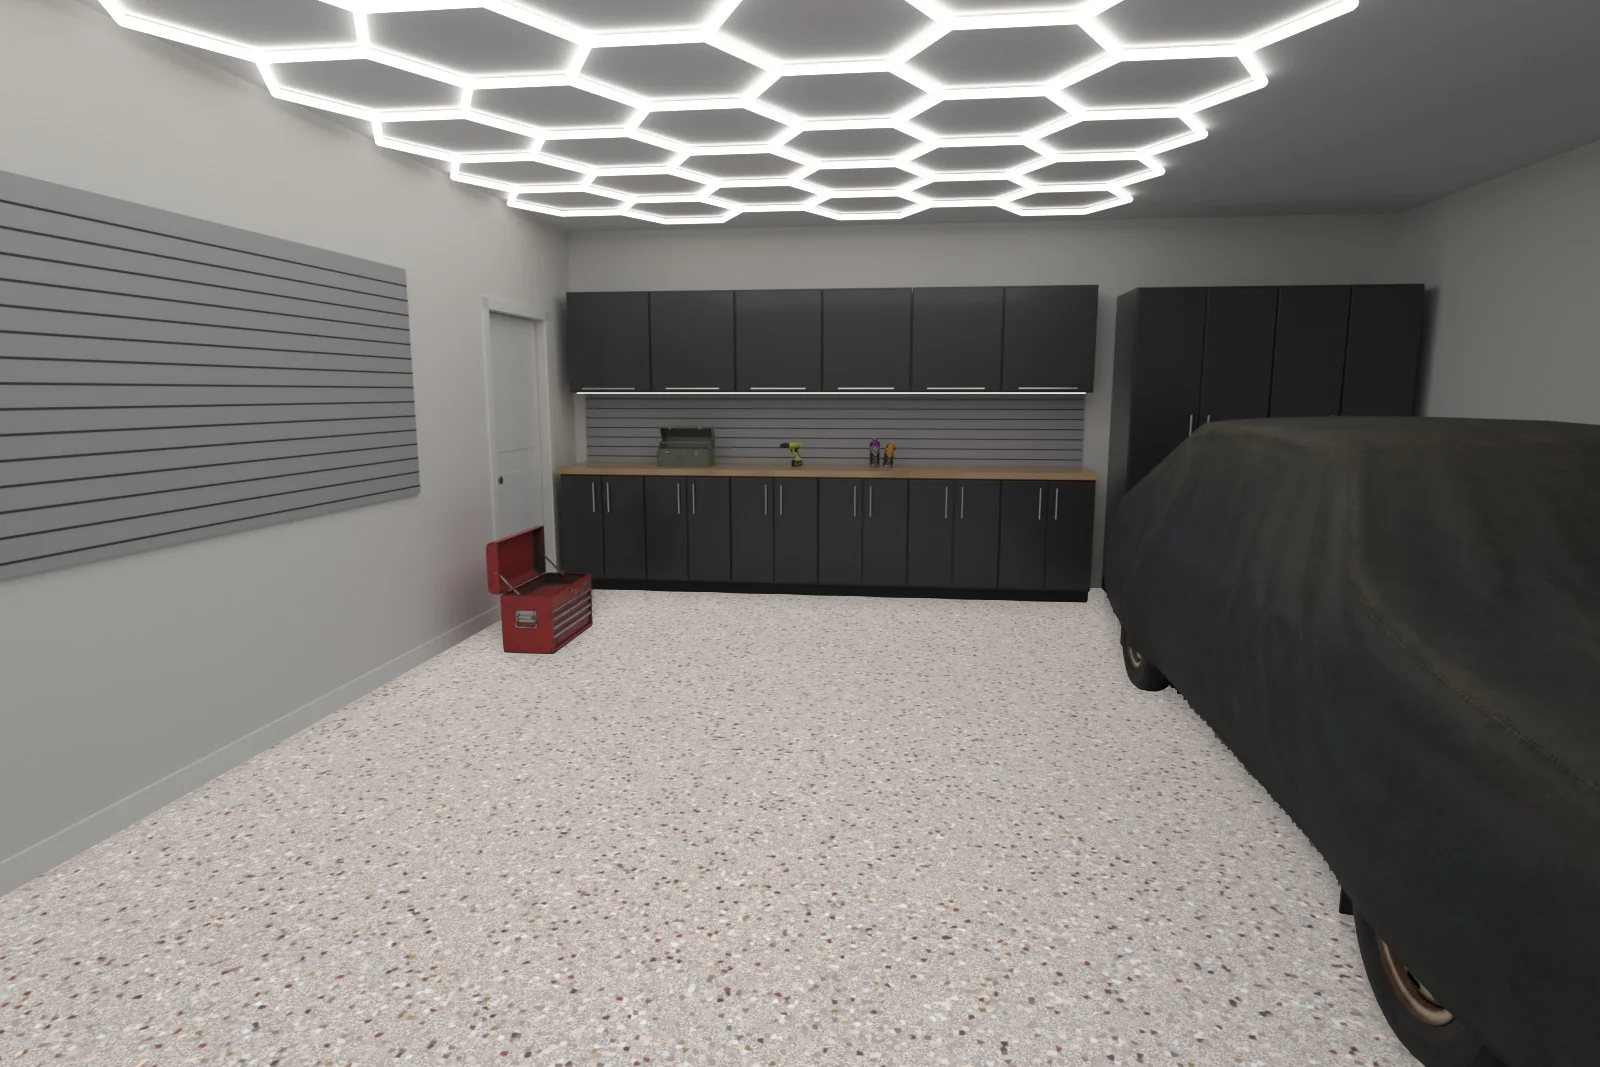
Step 5: Compare two colors
Tap Compare colors and pick a second color to see both on the same floor, split down the middle. Before / after switches between your original floor and the new finish, and Adjust lets you change flake size, gloss and shadows or touch up the floor area.
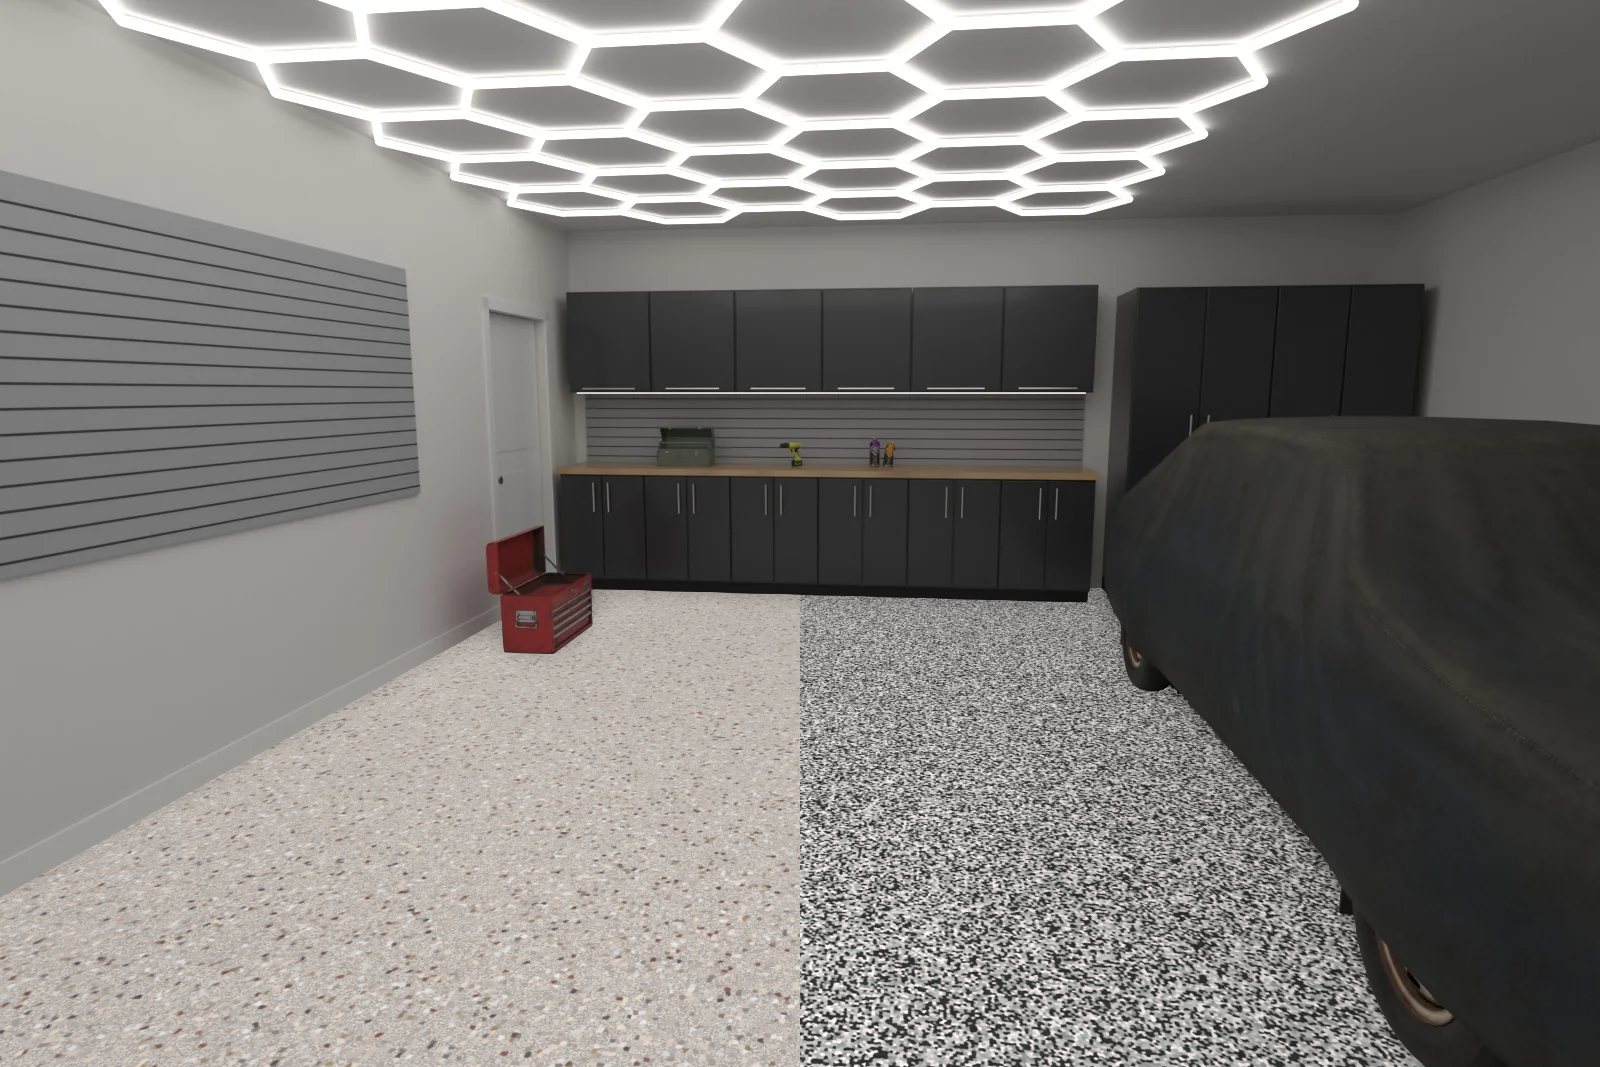 CascadeDomino
Step 6: Try solid and metallic
Planning a business floor? Switch to Solid for clean, even colors in shops and warehouses, or Metallic for a marble-like showroom finish. Each 3D room shows how the floor looks at full scale with realistic lighting.
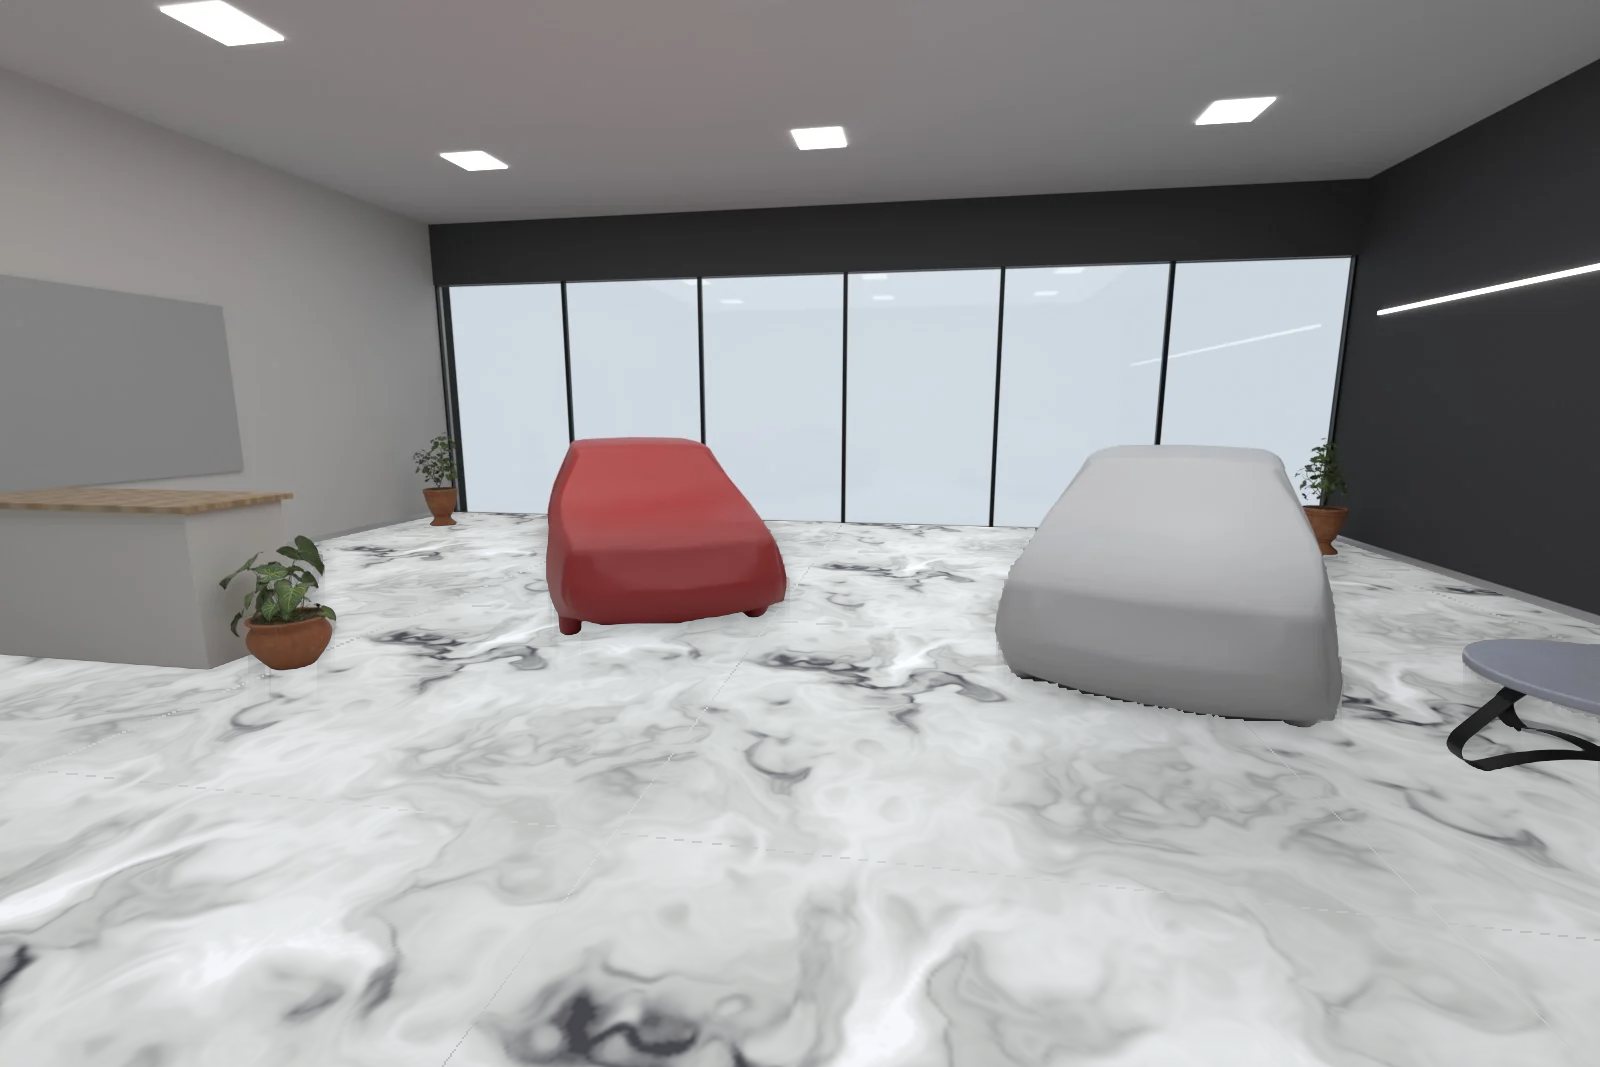 Metallic
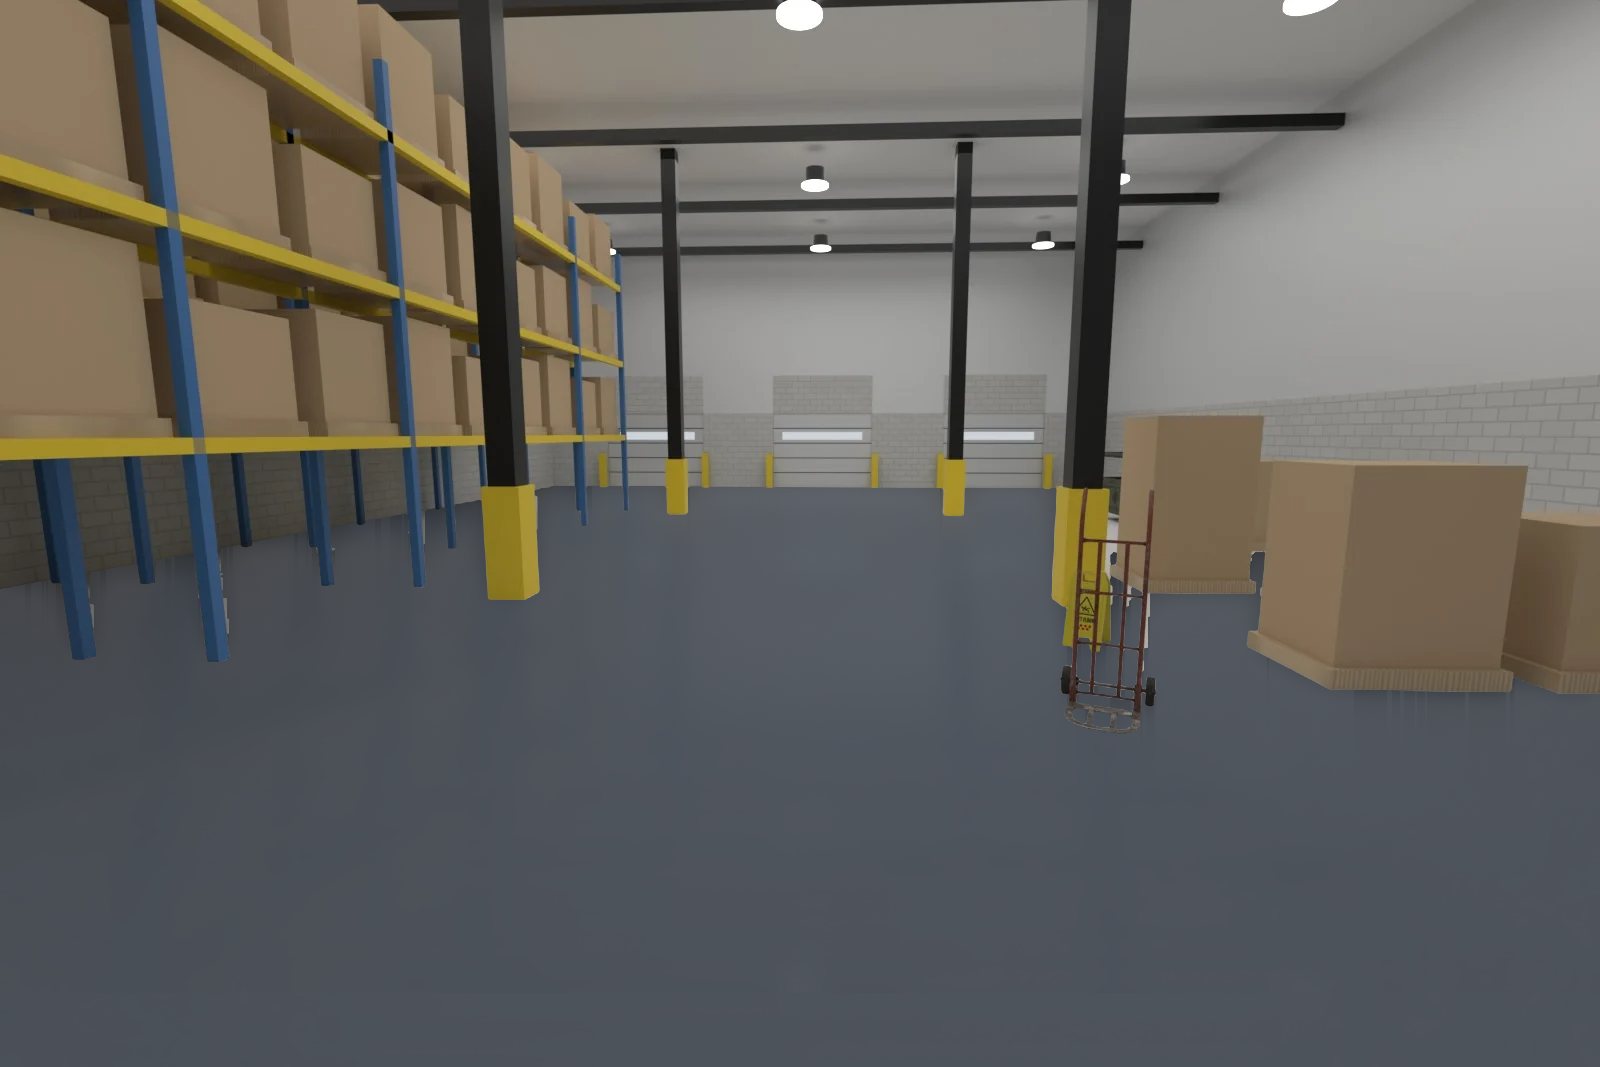 Solid · Charcoal
Step 7: Save, share and get a price
Use Download to save the image or Share to send it to your family or business partner. Then run the same space through our floor cost calculator for an instant price range, and press Get a free quote. We bring physical samples of the colors you picked.
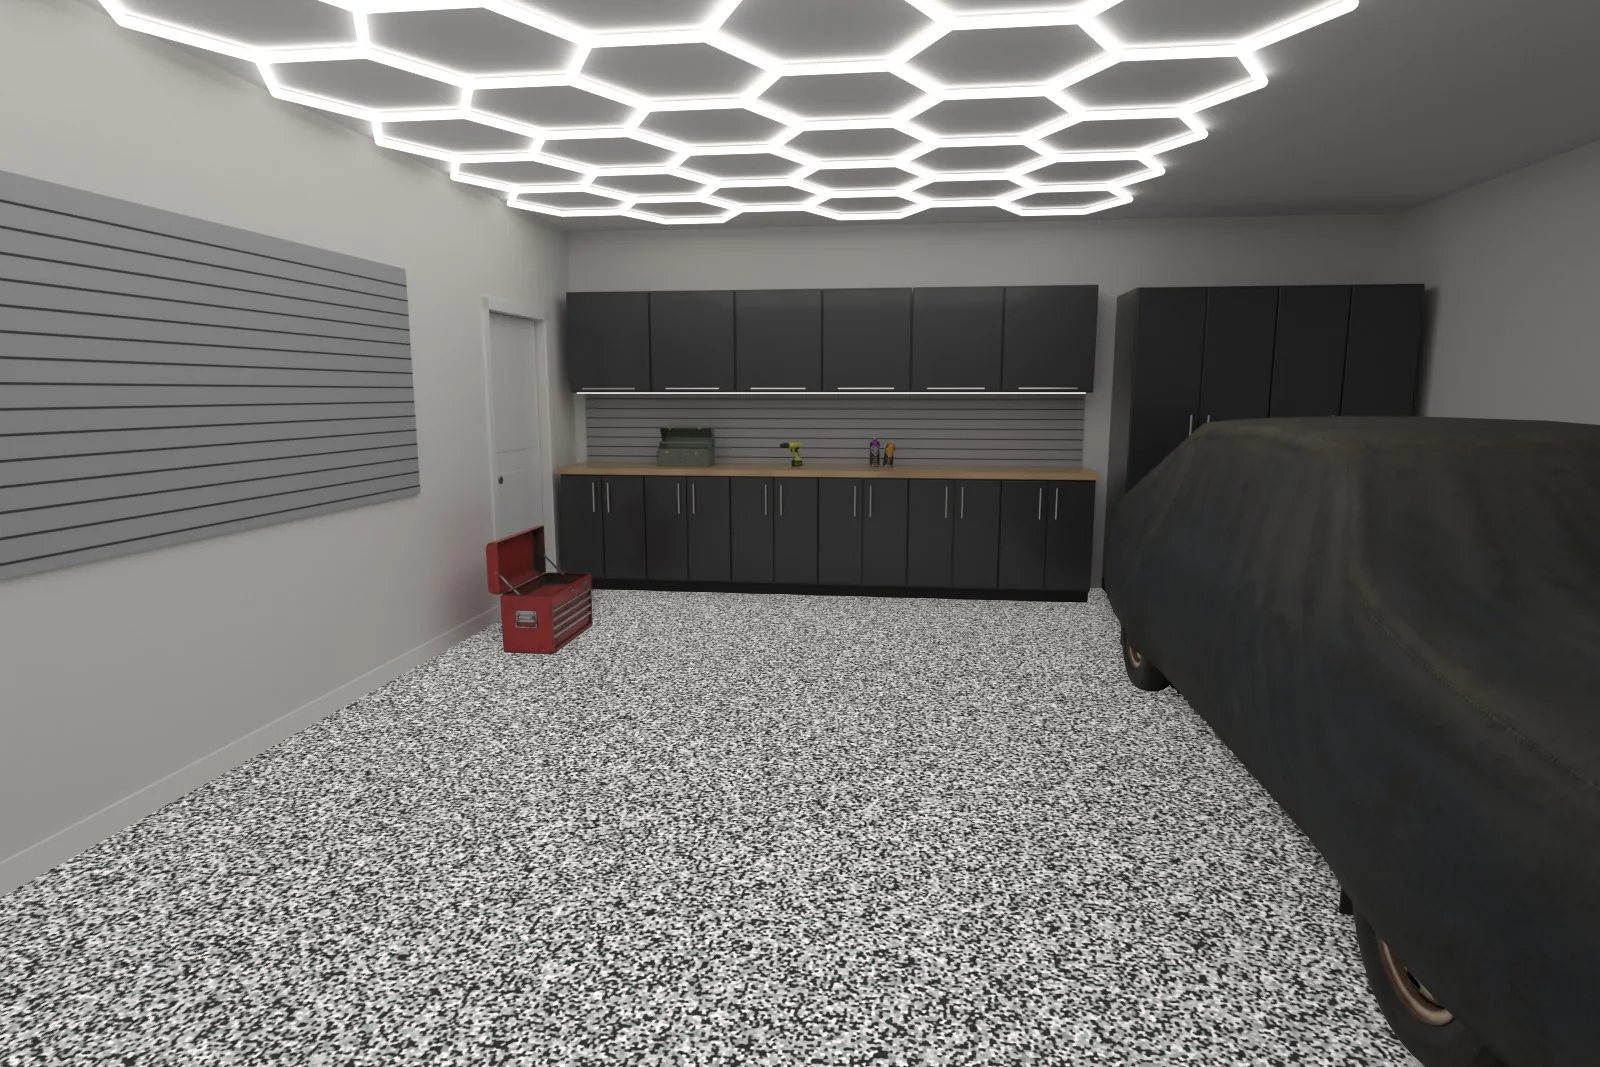
See your own floor in our colorsFree, no sign-up. Your photo stays on your device.
Open the visualizer ›Tips for a realistic preview
- Screens change colors. Phone brightness, night mode and room lighting all shift what you see. Always ask to see a physical sample before you decide.
- Look at your floor in daylight and at night. A garage under LED lights looks different from the same garage at noon.
- Consider the walls and cabinets. Pick a floor that works with what is already in the room.
- Think about dirt. Mid-tone flake blends hide sand, dust and tire marks best; very light or very dark solids show more.
Frequently asked questions
Is the floor visualizer free?
Yes. There is no cost and no sign-up.
Is my photo uploaded or stored?
No. The visualizer processes your photo on your device.
Are the colors exactly what I will get?
They are real Epoxy Boss colors, but screens and lighting change how they look. Chip size and blend density on your floor follow the system you choose, so we always confirm with a physical sample.
Can I use it for a commercial space?
Yes. Upload a photo of your space or use the commercial kitchen, office, showroom or warehouse rooms. For pricing, see our commercial epoxy flooring cost guide.
Try it now
Open the floor visualizer, find two or three favorites, and send them with your request. Call (954) 288-2459 or book a free floor assessment, and we will bring samples of the colors you picked.